¶ Coordinate Block in EyeAuras
The Coordinate Block is used in various actions and triggers. It lets you:
- Define a specific capture region.
- Set the position of an overlay or another on-screen element.

¶ Everything Is Relative
EyeAuras uses three main coordinate systems:
¶ Screen Coordinates
Absolute coordinates on the screen. Usually, the top-left corner is (0,0), and the bottom-right corner matches your screen resolution, for example 1920x1080. If you use multiple monitors, the top-left corner can be negative.
When should you use them?
- To display overlays and visualize detected objects.
- To click on the screen without tying the action to a specific window.
¶ Window Coordinates
Coordinates relative to the top-left corner of a window.
When should you use them?
- Capture regions in all triggers use window coordinates.
¶ Match Bounds
Coordinates relative to a detected object inside the window.
When should you use them?
- Rarely. In most cases, screen or window coordinates are enough.
¶ Position and Offset
A rectangle is defined by its X and Y coordinates, along with its Width and Height.
The Offset parameters (X, Y, Width, Height) let you shift the overlay position further. For example:
- Position:
(100, 100) - Offset:
(10, 20) - Final position:
(110, 120)
¶ Anchors
In EyeAuras, there are two types of anchors:
- Position Anchor
- Content Anchor
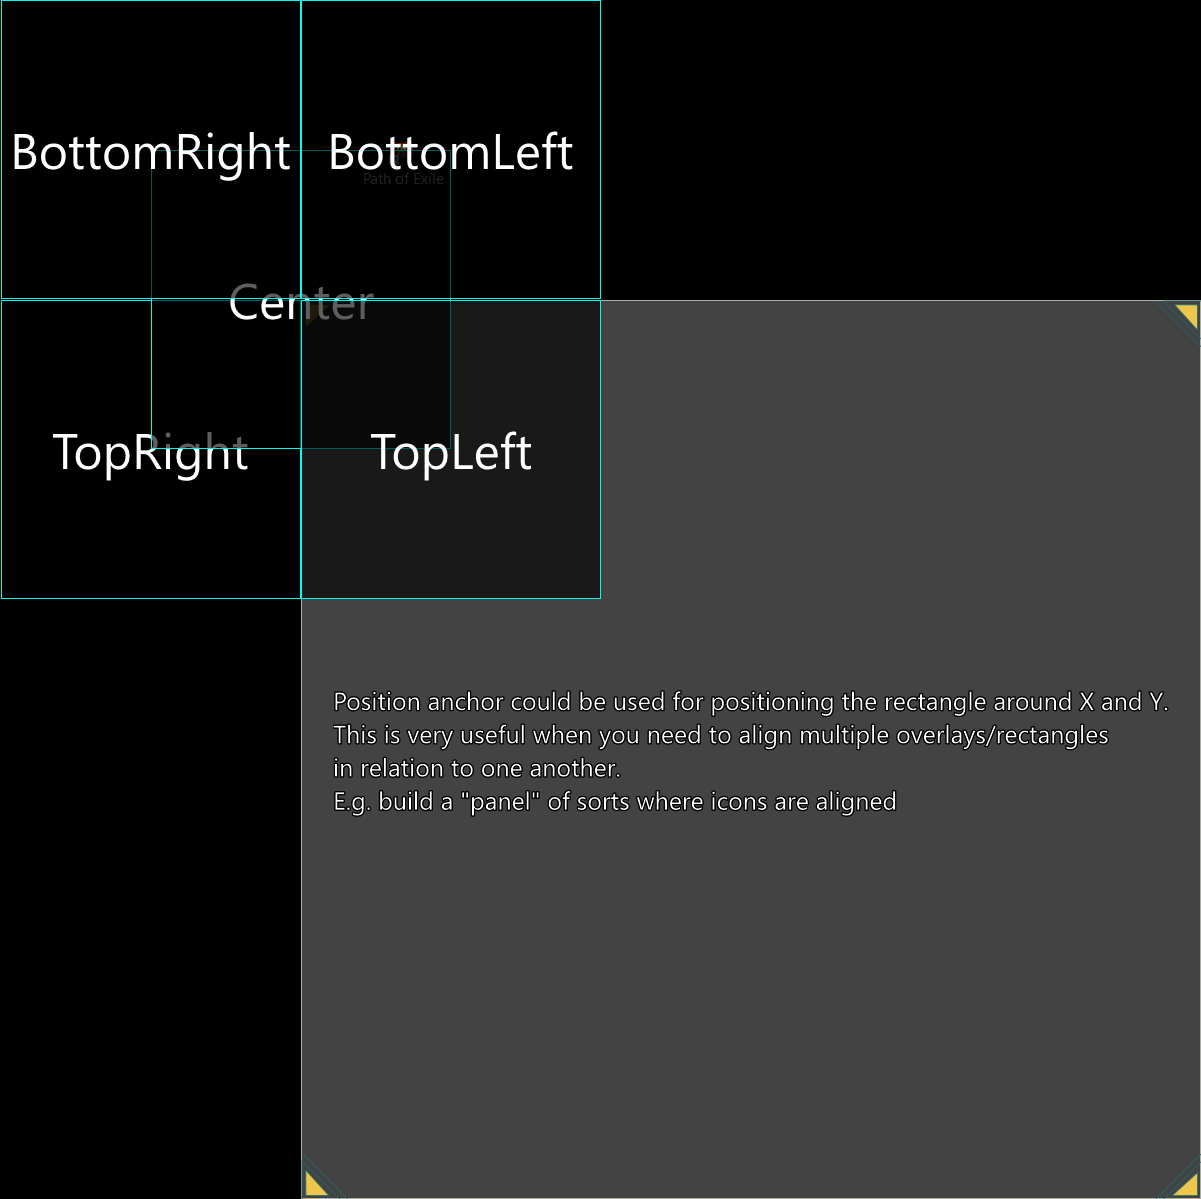
¶ Position Anchor
Defines the anchor point inside a window or rectangle. Position and offset are calculated relative to that point.
Example: if the anchor is set to TopLeft, the position and offset refer to the top-left corner of the window. If it is set to Center, they refer to the center of the window.
¶ Anchor Examples
¶ AnchorType: TopLeft
- Position:
(300, 100), Size:(200, 100), Offset:(0, 0, 0, 0)(300, 100, 200, 100) - Position:
(300, 100), Size:(200, 100), Offset:(100, 50, 0, 0)(400, 150, 200, 100)
¶ AnchorType: Top
- Position:
(300, 100), Size:(200, 100), Offset:(0, 0, 0, 0)(200, 100, 200, 100) - Position:
(300, 100), Size:(200, 100), Offset:(100, 50, 0, 0)(250, 150, 200, 100)
¶ AnchorType: TopRight
- Position:
(300, 100), Size:(200, 100), Offset:(0, 0, 0, 0)(100, 100, 200, 100) - Position:
(300, 100), Size:(200, 100), Offset:(100, 50, 0, 0)(200, 150, 200, 100)
¶ AnchorType: Right
- Position:
(300, 100), Size:(200, 100), Offset:(0, 0, 0, 0)(100, 50, 200, 100) - Position:
(300, 100), Size:(200, 100), Offset:(100, 50, 0, 0)(200, 75, 200, 100)
¶ AnchorType: BottomRight
- Position:
(300, 100), Size:(200, 100), Offset:(0, 0, 0, 0)(100, 0, 200, 100) - Position:
(300, 100), Size:(200, 100), Offset:(100, 50, 0, 0)(200, -50, 200, 100)
¶ AnchorType: Bottom
- Position:
(300, 100), Size:(200, 100), Offset:(0, 0, 0, 0)(200, 0, 200, 100) - Position:
(300, 100), Size:(200, 100), Offset:(100, 50, 0, 0)(250, -50, 200, 100)
¶ ⬅ AnchorType: Left
- Position:
(300, 100), Size:(200, 100), Offset:(0, 0, 0, 0)(300, 50, 200, 100) - Position:
(300, 100), Size:(200, 100), Offset:(100, 50, 0, 0)(400, 75, 200, 100)
¶ AnchorType: Center
- Position:
(300, 100), Size:(200, 100), Offset:(0, 0, 0, 0)(200, 50, 200, 100) - Position:
(300, 100), Size:(200, 100), Offset:(100, 50, 0, 0)(250, 25, 200, 100)
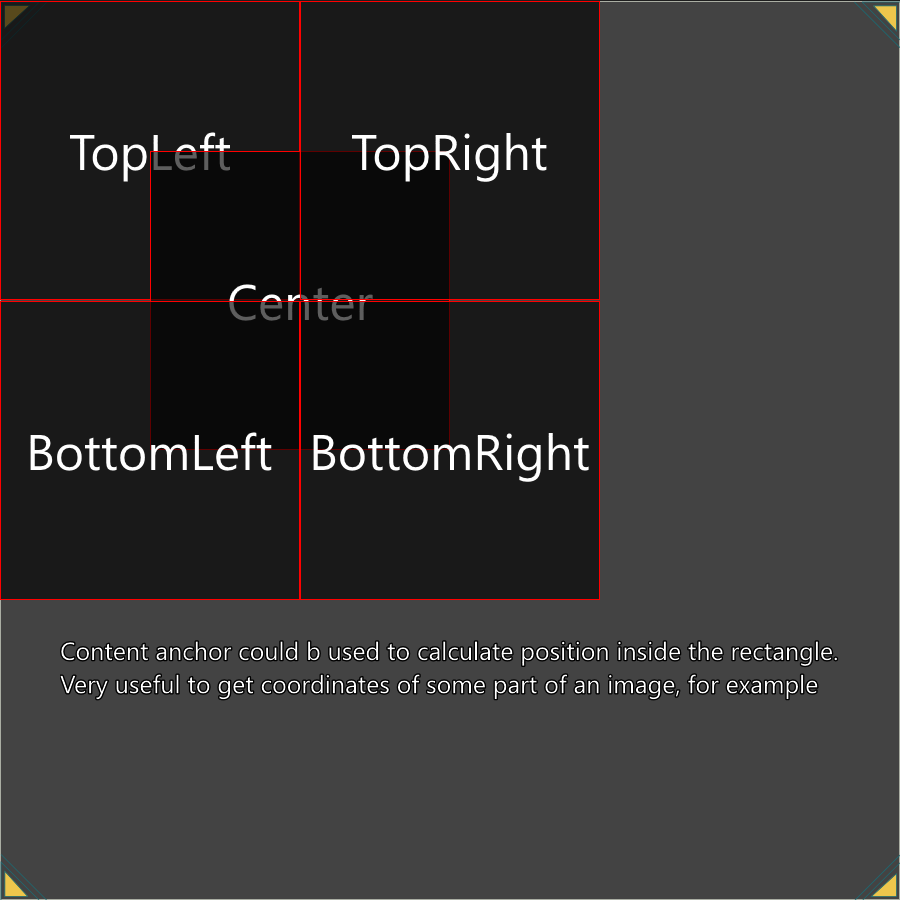
¶ Content Anchor
Used in special cases to align content inside a rectangle or window.