¶ Annotation and Training
Your first model will almost always start with manual annotation. After that, YoloEase uses the latest model for predictions and helps you label the next tasks much faster.
¶ Start small, then scale up
A practical workflow looks like this: annotate 5-10 frames by hand, train, do a bit more manual annotation, get your first model, then move on to tasks with dozens or hundreds of frames using auto-annotation. Do not wait until you have built a large dataset manually.
This is exactly where YoloEase works best: Trainer prepares a new model in the background while you review the next task. As the model improves, you can use larger batches and draw fewer boxes from scratch.
¶ Create your first task
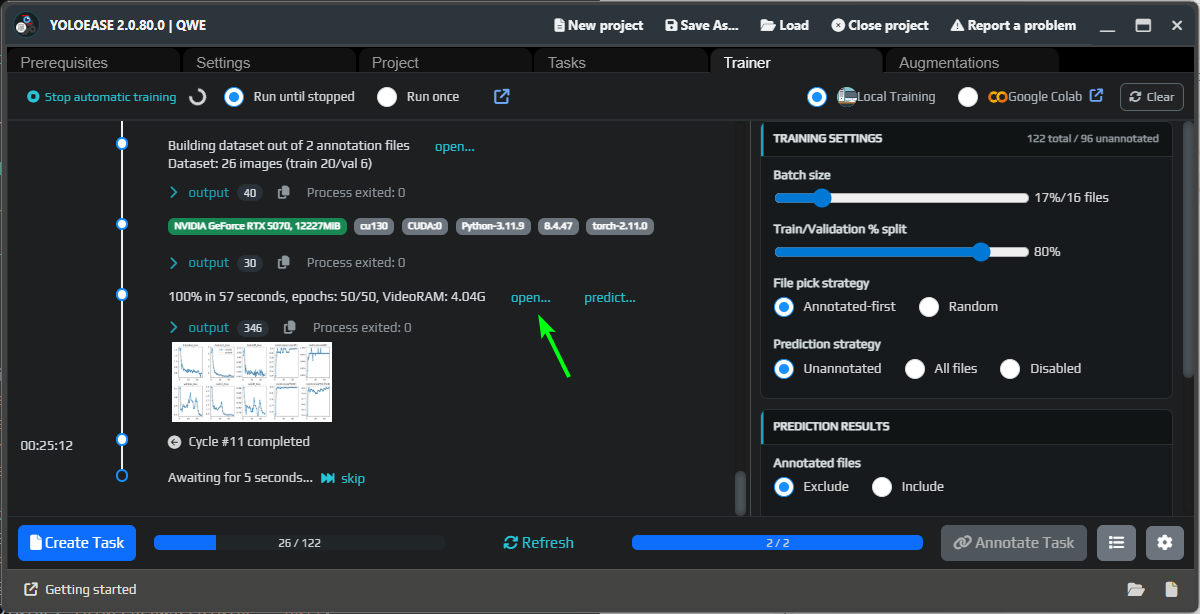
Open the Trainer tab. If you do not have a model yet, the prediction step will be skipped, and Create Task will select frames from the available data.
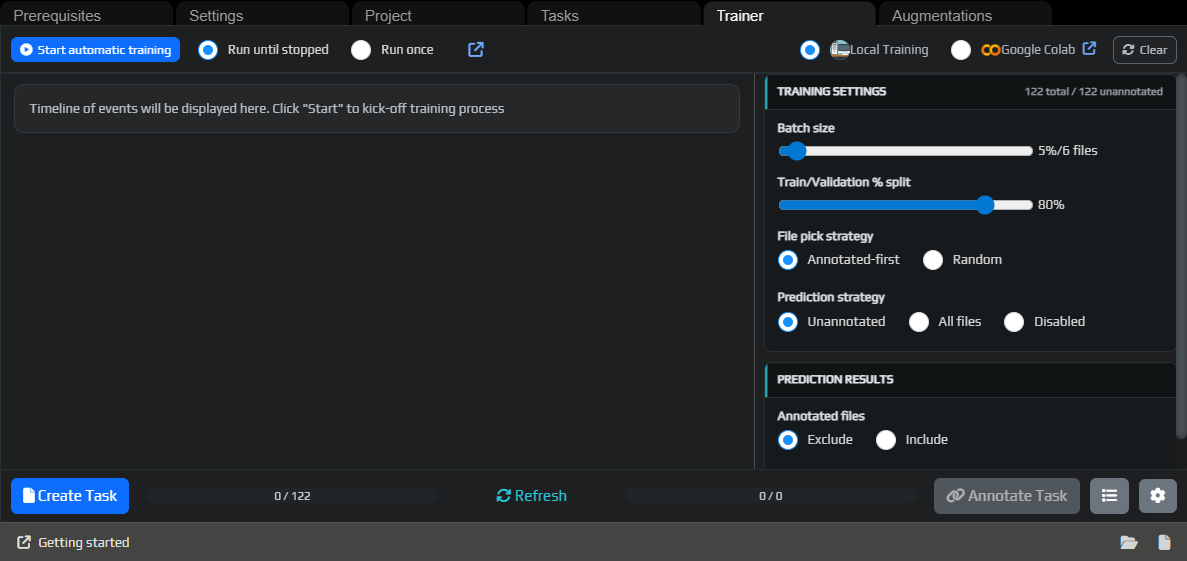
Click Create Task, then open the task through Annotate Task or from the task list.
More details about batch size, prediction strategy, and progress tracking: Trainer.
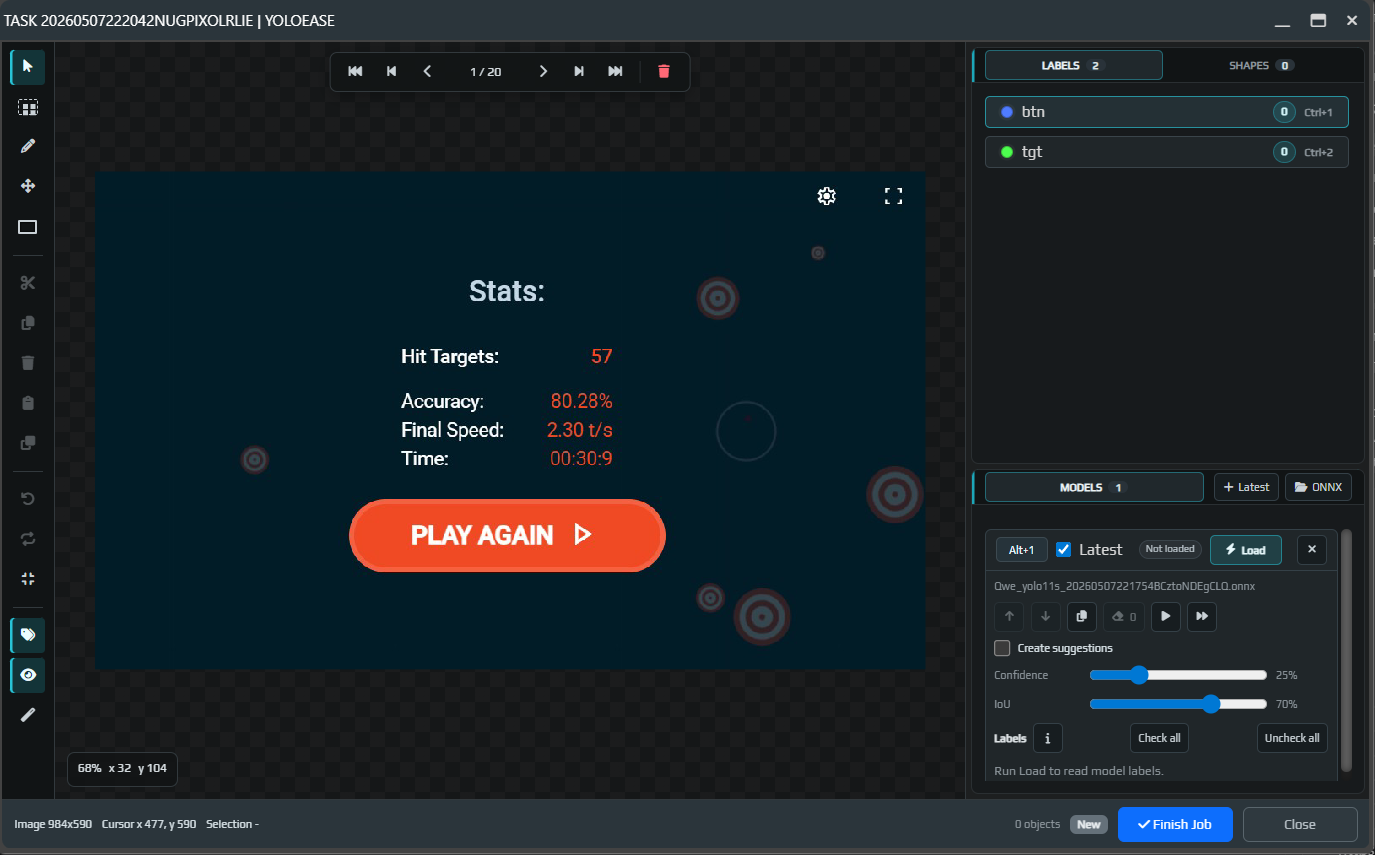
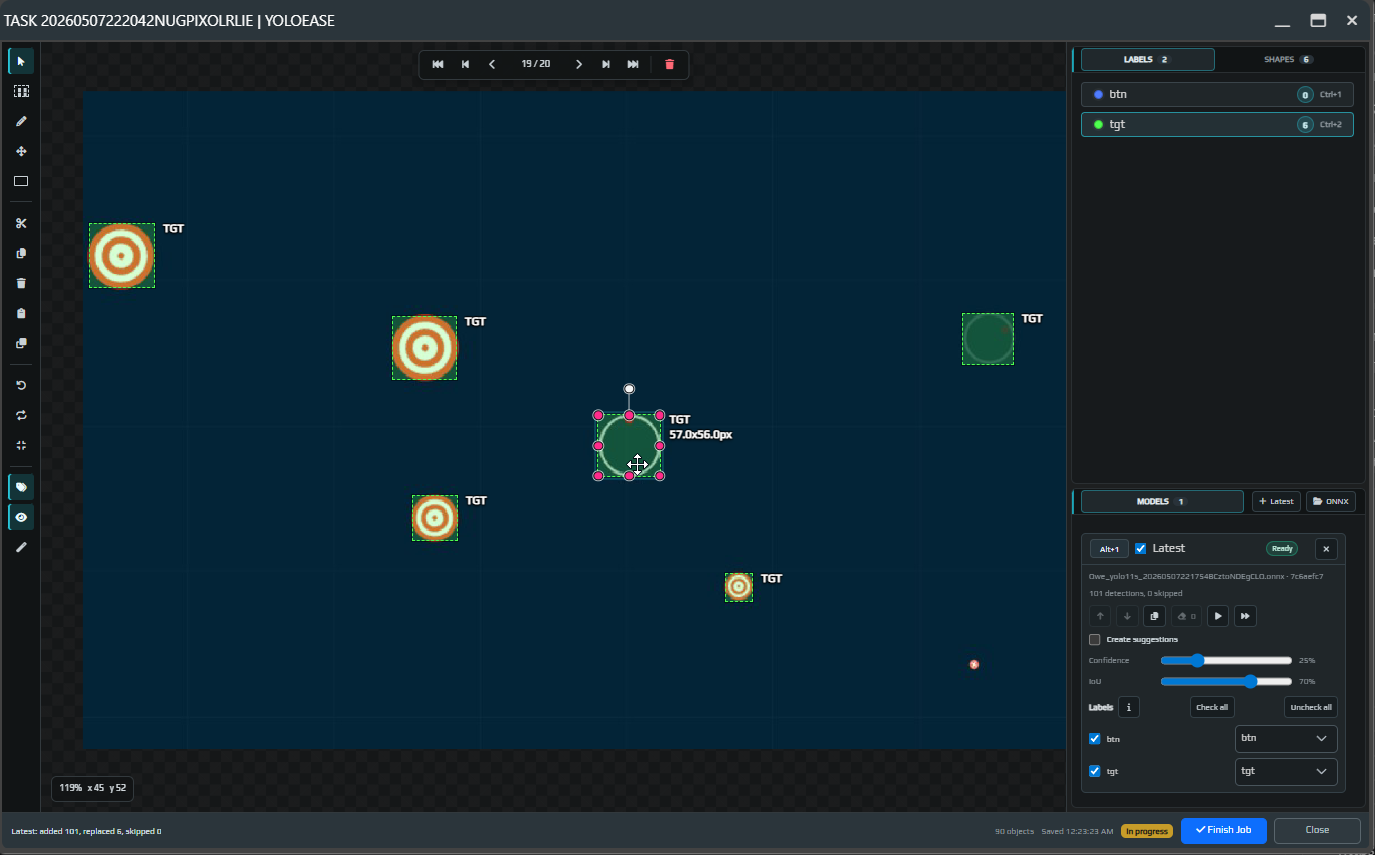
¶ Annotate the first frames
The empty editor shows labels on the right, frame navigation at the top, and the toolbar on the left. At this stage there are no objects yet, and the Models block tells you that no trained ONNX model has been found.

Select a label and draw rectangles around the objects. For AimTrainer.io, that means the small tgt targets and the btn button.
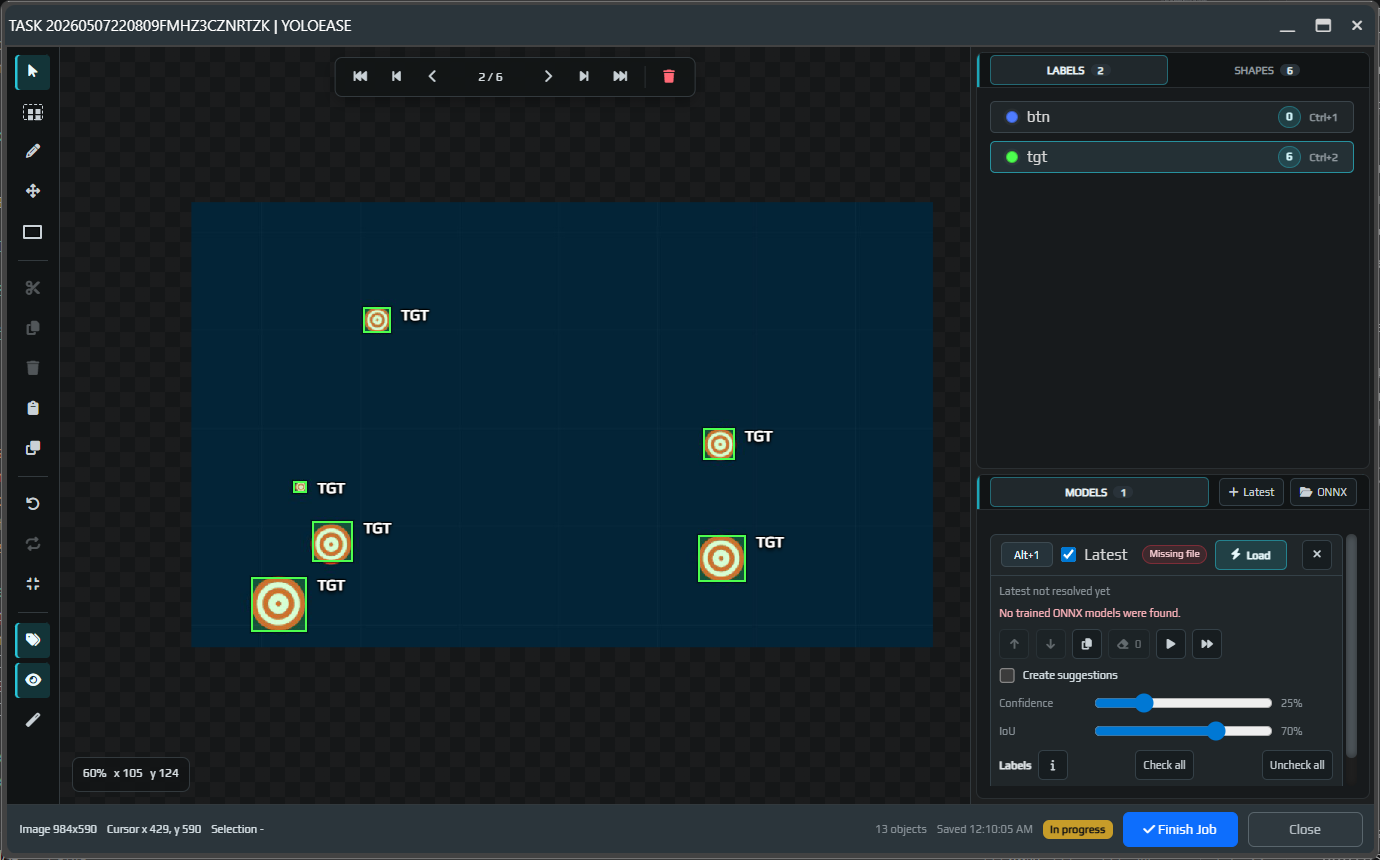
When the task is ready, click Finish Job. This step is important: completed tasks are included in the next training dataset.
For details about the toolbar, hotkeys, boxes, model suggestions, and label matching, see the annotation editor.

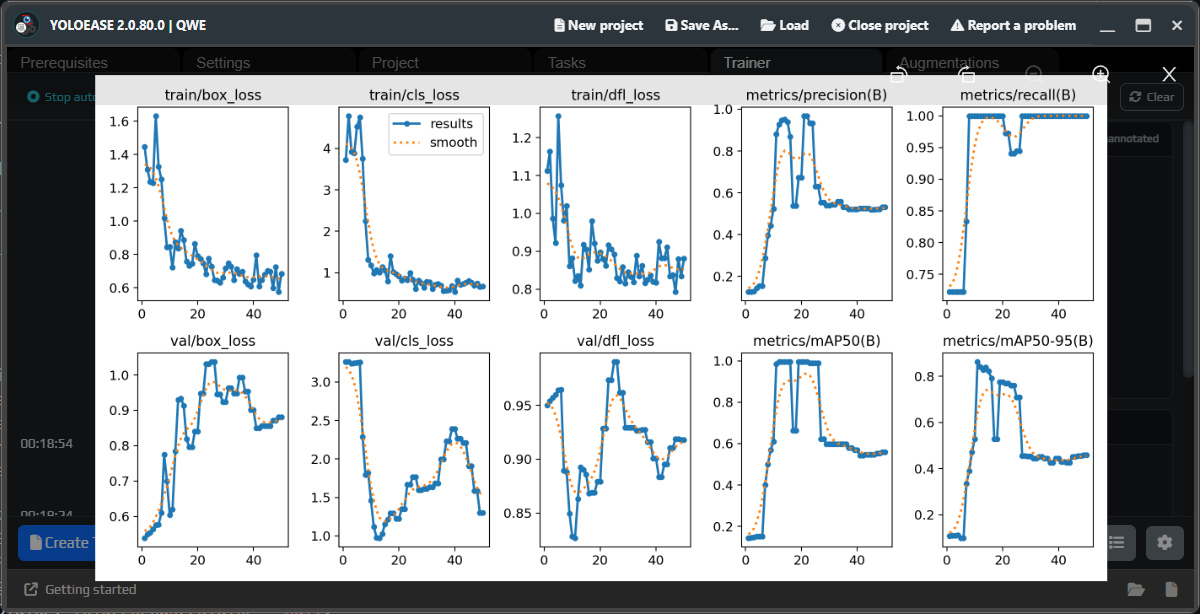
¶ Start training
Go back to Trainer and start local training. YoloEase will build a dataset from completed tasks, split the images into training and validation sets, and then start training.
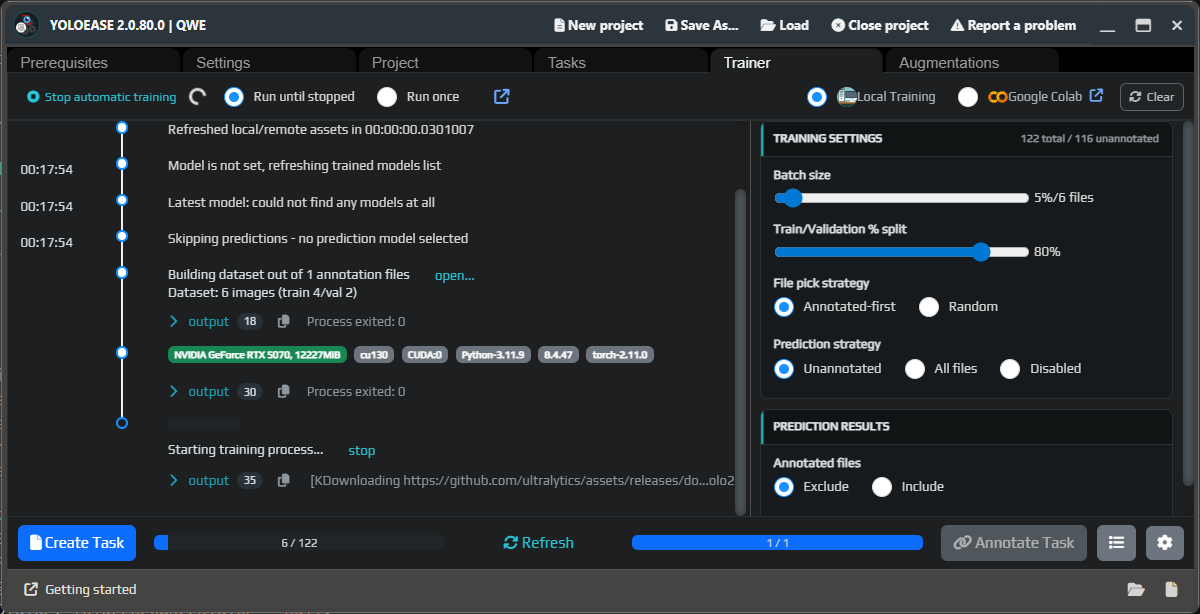
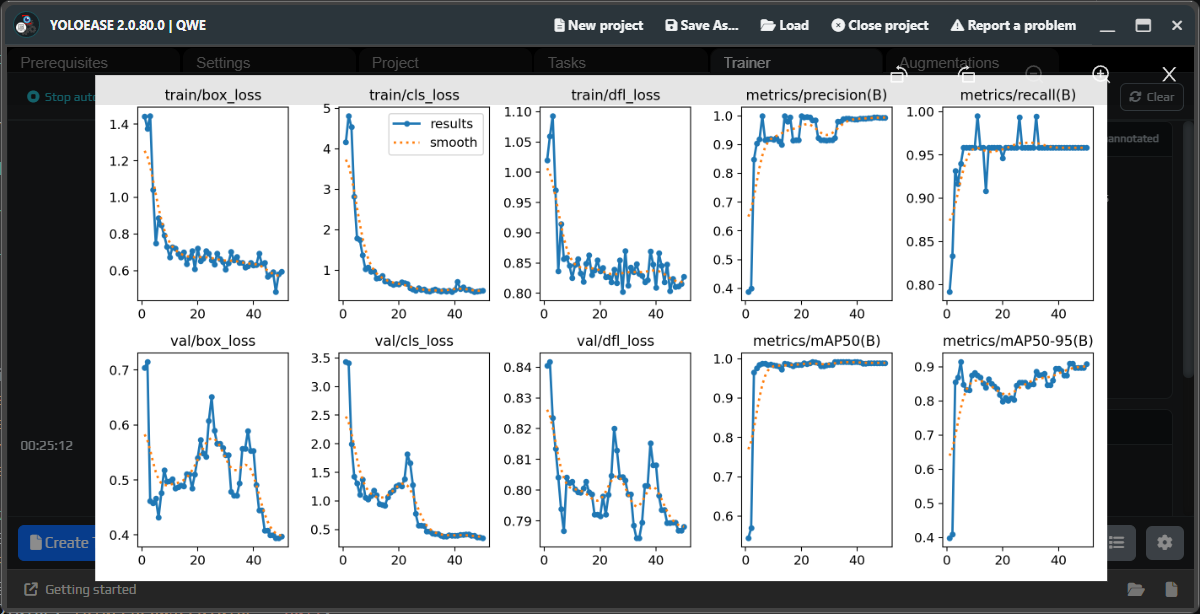
When training finishes, open the metrics. The first result may look noisy, and that is normal when you do not have much data yet.
¶ Review predictions
Once a model is available, YoloEase can run predictions on frames. This helps you see what the model has already learned, where it makes mistakes, and which frames are worth adding to the next task.
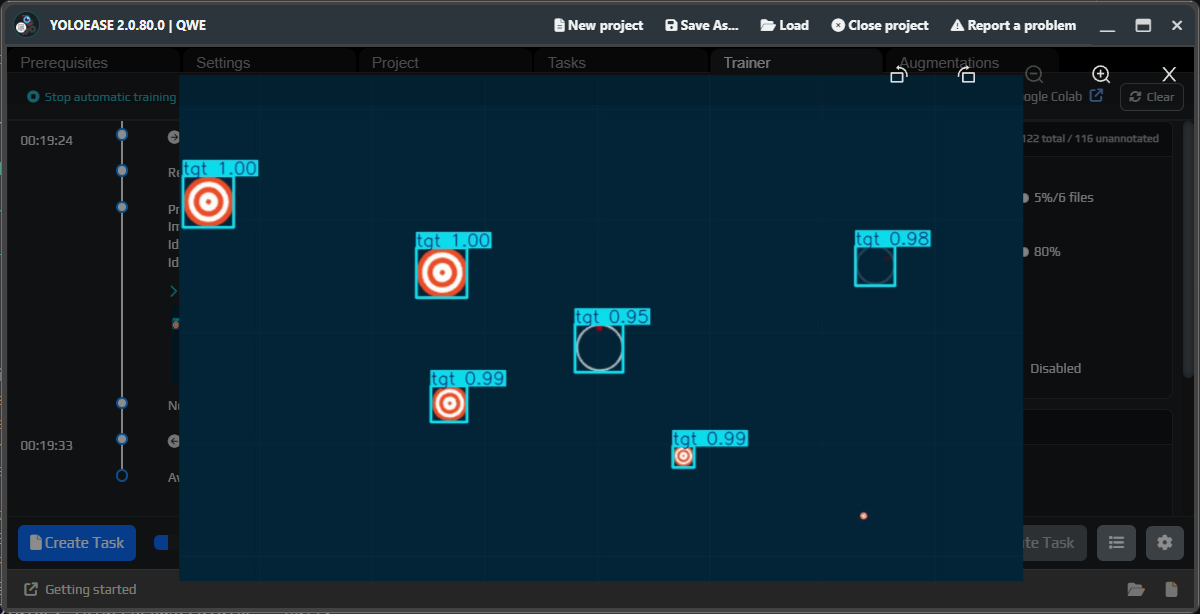


¶ Use the model for auto-annotation
Open the next task. Now you can add Latest in the Models block, load the model, and run it on the current frame or on the entire task.
After you run it, the model will either create suggestions or add boxes directly if that option is enabled. Review the result visually.
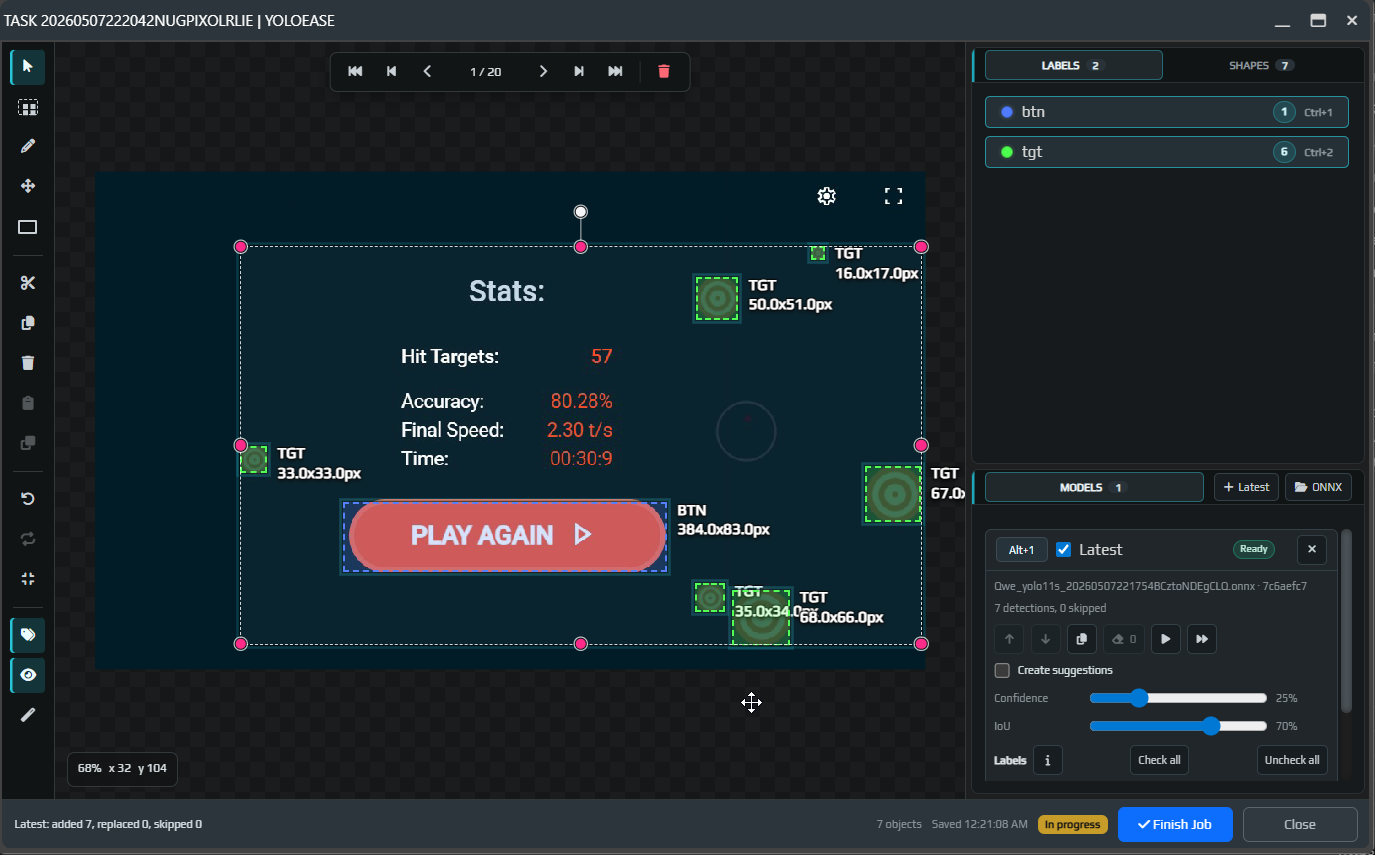
If the model creates suggestions, they stay temporary until you click Accept or Accept all. Suggestions that are not accepted will not be used for training.
If the model added an extra object, select it and remove it with Q, Delete, or Backspace.
¶ Repeat the next generations
After the second and third iteration, quality usually improves noticeably: the model helps annotate more frames, and you mostly fix mistakes instead of drawing everything manually.
You can reopen completed tasks if you want to annotate them again with a newer model or fix older mistakes.
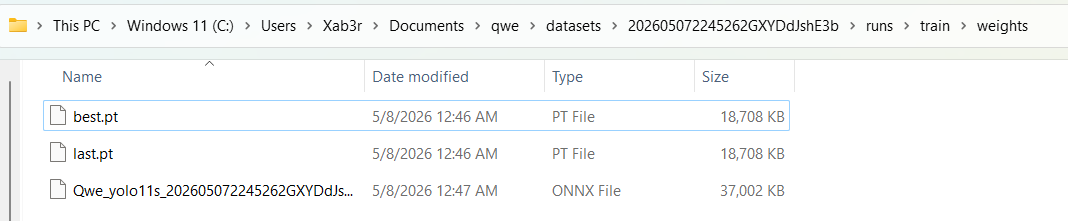
The final weights are stored in the training run folder. Use Open in Trainer to open the output folder and retrieve best.pt, last.pt, and .onnx.
What .pt, .onnx, model size, and opset mean: YOLO ONNX and model weights.
If your dataset is small or the objects look too repetitive, move on to augmentations. If the model is already good enough, connect it in EyeAuras. If something breaks, open diagnostics.